
First steps
This guide takes you from zero knowledge to having your first automation up and running. It’s intended for someone who has never used Zoan Automation — and almost no one has touched RPA before. Each step explains what you will see, what you have to do, and what common errors may appear.
Al terminar vas a tener:
- A Zoan Automation account on your own subdomain.
- The Agent installed and connected on your Windows machine.
- Your first playbook designed, published and successfully executed.
- Execution logs visible in the portal.
Estimated time: 30 to 45 minutes the first time. Then, creating a new automation takes minutes.
Flow Overview
Section titled “Flow Overview”Before putting your hands in, this is what the complete path looks like:
- You request your Zoan Cloud account — we receive your email and activate your tenant (a subdomain for your organization).
- You enter the portal —
https://tu-empresa.cloud.zoansoftware.comwith the email and password that we sent you. - You create an environment (“Production” or “Tests”) and inside you create an agent, which generates a Machine Key.
- You download the Zoan Platform Setup and install it with the wizard — it includes Designer and Agent in a single package.
- Open Zoan Agent, paste the URL and Machine Key, and connect.
- You open Zoan Designer, create a project, drag activities to the canvas and configure parameters.
- You publish the playbook to the portal, associate it with a process in the environment, and run it.
- You see the logs in real time from the portal.
From here we take you step by step.
1. Get your Zoan Cloud account
Section titled “1. Get your Zoan Cloud account”For now, Zoan Automation is delivered with accompaniment: there is no automatic registration from the web. This allows us to ensure that you receive the tenant configured correctly, with your assigned plan and an open support channel from day one.
-
Solicita tu cuenta
Write to contacto@zoansoftware.com or fill out the form at zoansoftware.com/contacto. Indicates:
- Name of your organization.
- Subdomain you want to use (e.g.
acme→acme.cloud.zoansoftware.com). - Interest plan (Free, Starter, Pro).
- Name and email of the first administrator user.
-
Wait for activation
In less than one business day you will receive an email with:
- URL de tu portal:
https://tu-empresa.cloud.zoansoftware.com - Username and temporary password.
- Link to download the installer.

- URL de tu portal:
2. First sign-in to the portal
Section titled “2. First sign-in to the portal”-
Open the URL that arrived in the email (
https://tu-empresa.cloud.zoansoftware.com).
-
Login with your email and temporary password.
-
Change your password when the system asks you to do so. Use a strong password: the portal saves sensitive credentials from your systems.
-
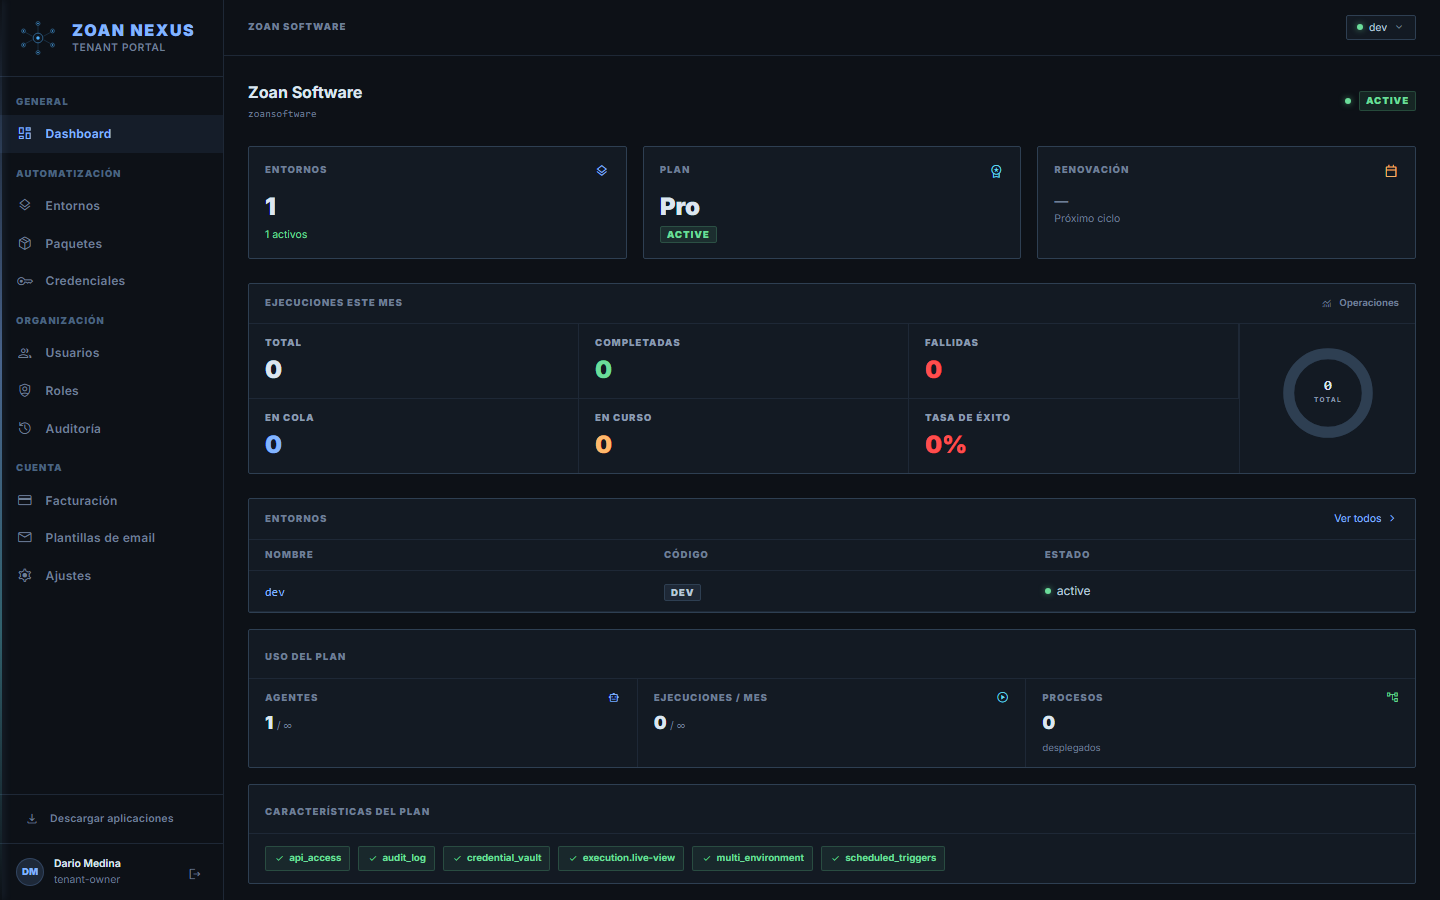
You land on the tenant’s Dashboard. You’ll see an empty summary — there are no environments or runs yet.
3. Create your first environment
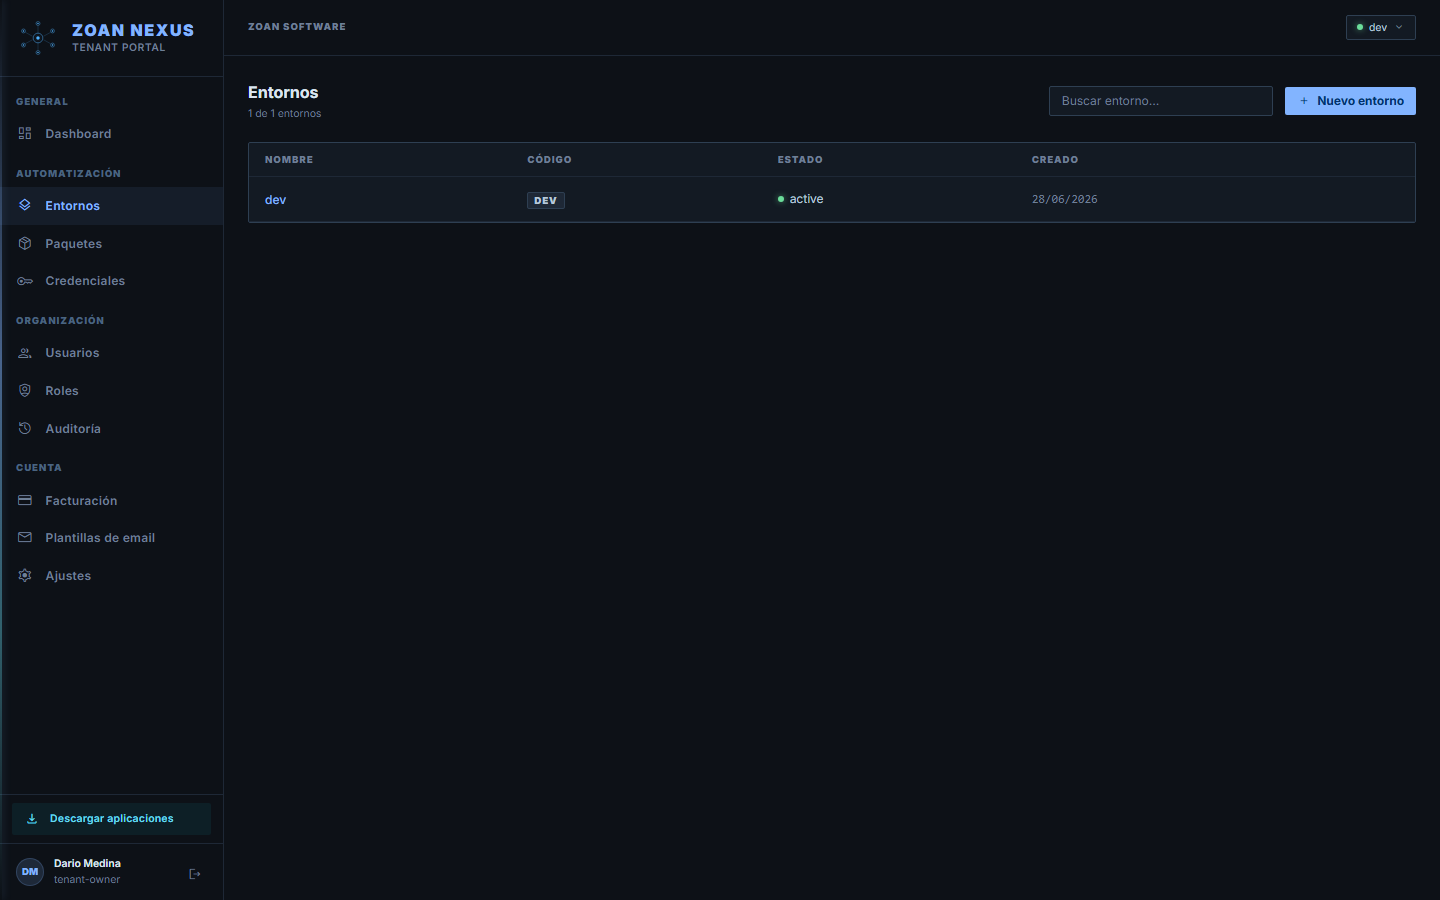
Section titled “3. Create your first environment”An environment is an isolated space where resources live: agents, processes, credentials, executions. The typical thing is to have Producción, Pruebas and Desarrollo separate, but to start with one is enough.
-
Go to Environments in the left side menu.
-
Click on “New environment” (button at the top right).
-
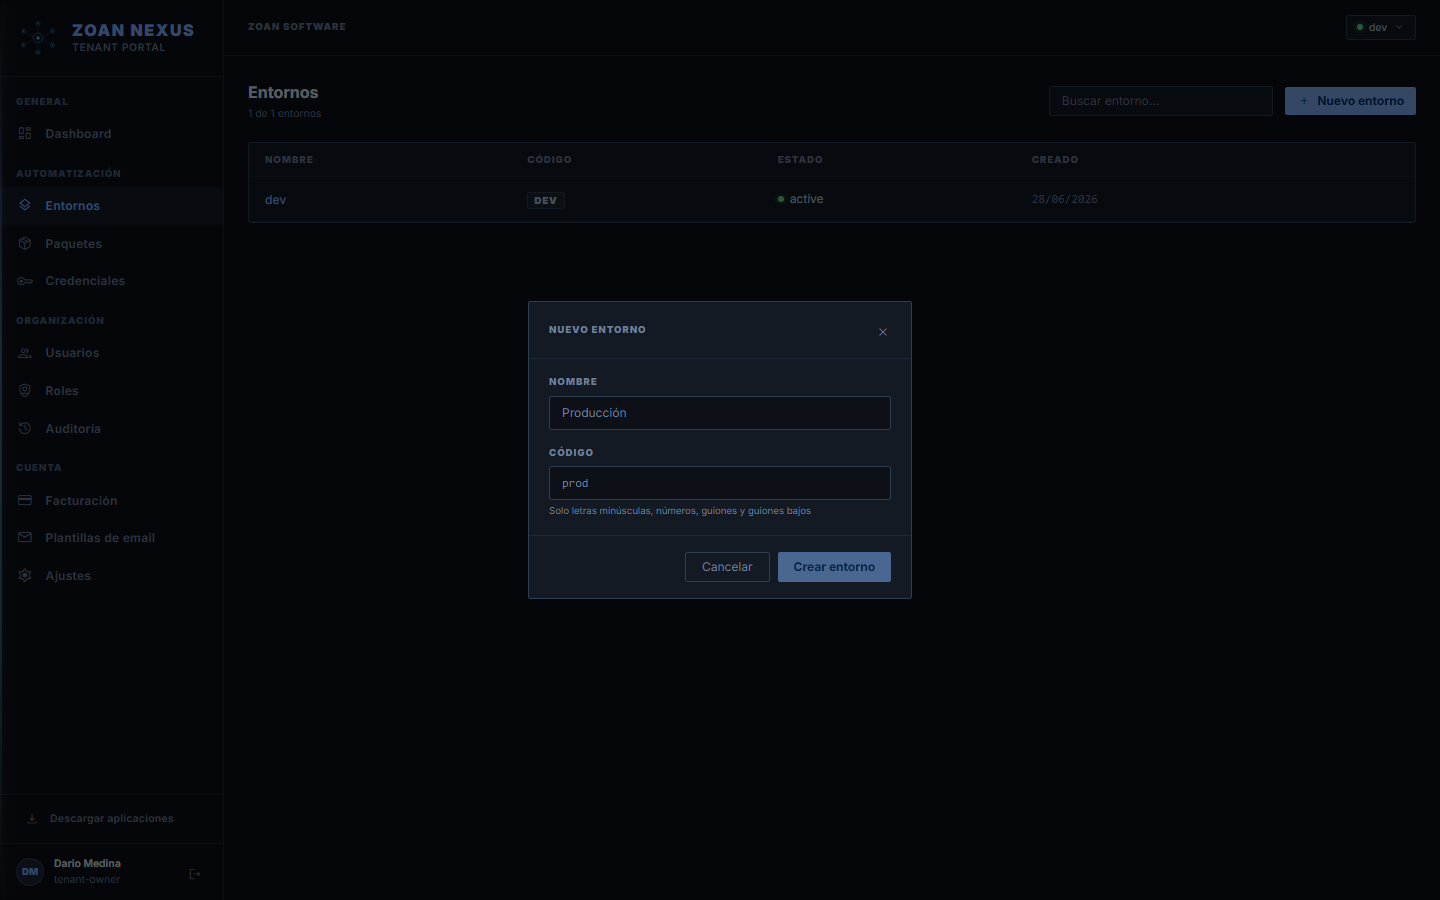
Fill out the form:
- Name:
Pruebas(changeable later). - Description: optional.
- Name:
-
Keep. The environment is created and you go directly into its detail.
4. Create an agent within the environment
Section titled “4. Create an agent within the environment”The agent represents the physical or virtual machine where the bots will run. When you create it in the portal, it returns a Machine Key — a key that the Agent (the desktop app) uses to identify itself against Zoan Cloud.
-
Within the environment, click on the Agents tab (it’s the first tab, marked with a robot icon).
-
Click on “Create Agent” (or ”+”).

-
Enter a name for the agent. Convention: identifiable name of the machine (e.g.
WIN-CONTABILIDAD-01,VM-AUTOMATION-EU-01).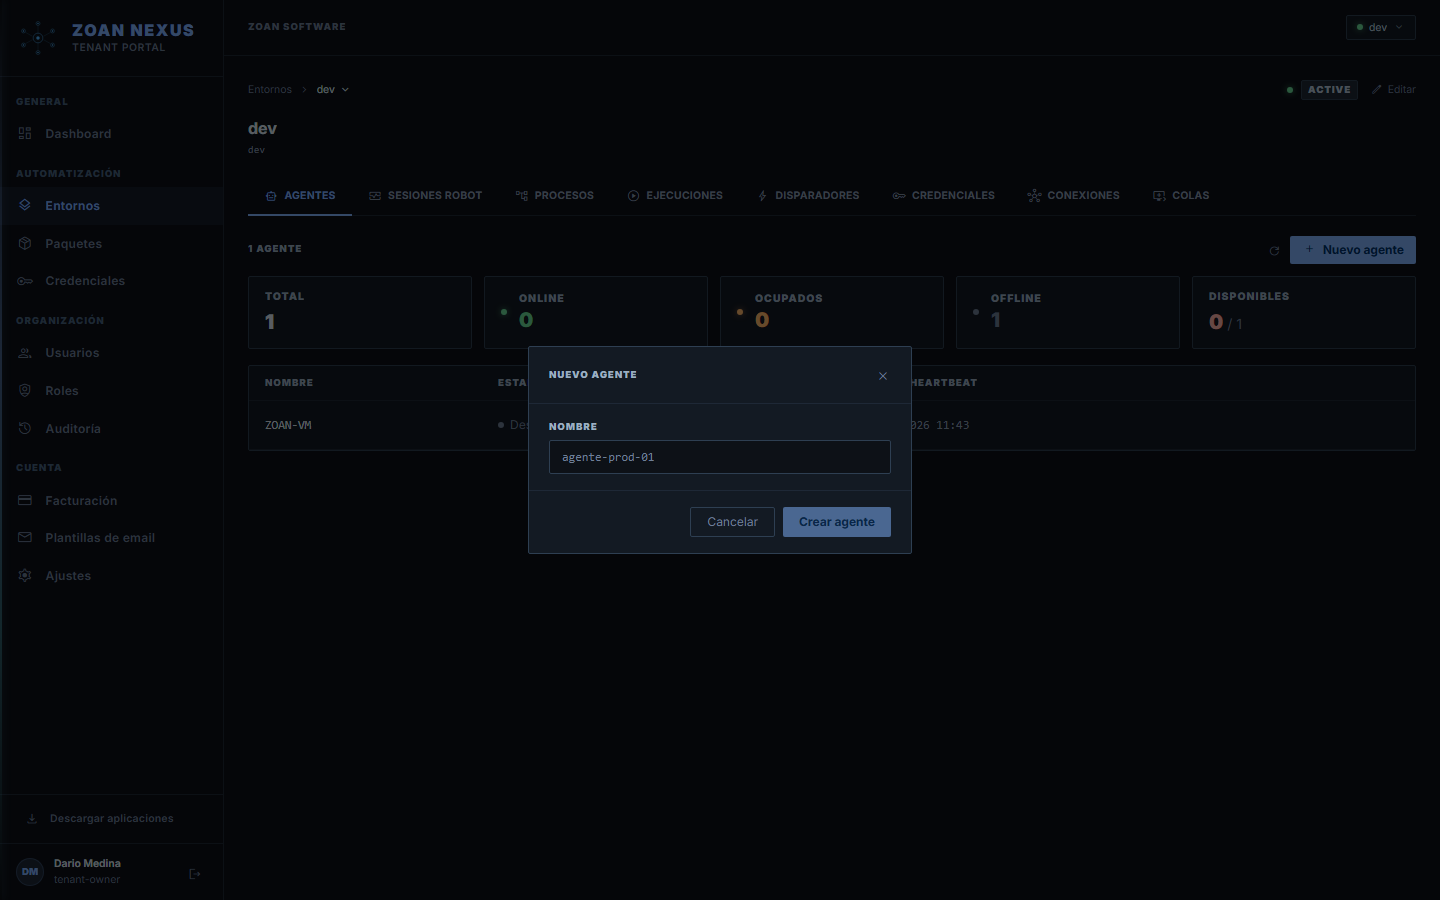
-
Keep. A modal with the Machine Key appears immediately:

-
Copy the Machine Key with the copy button. Also write down the
agentId(it is used to reference the agent from the API). -
Close the modal. The agent is listed with status
offline— nothing is connected yet on the machine side.
5. Download and install Zoan Platform
Section titled “5. Download and install Zoan Platform”Zoan Platform is a single installer that includes the Designer + the Agent. There are no separate installers.
-
Download the installer
Hay dos formas:
- From the portal: There is a download link in the tenant header or on each agent page.
- From the activation email: includes the direct link.
The file is
ZoanPlatformSetup.exe, approximately 80–120 MB.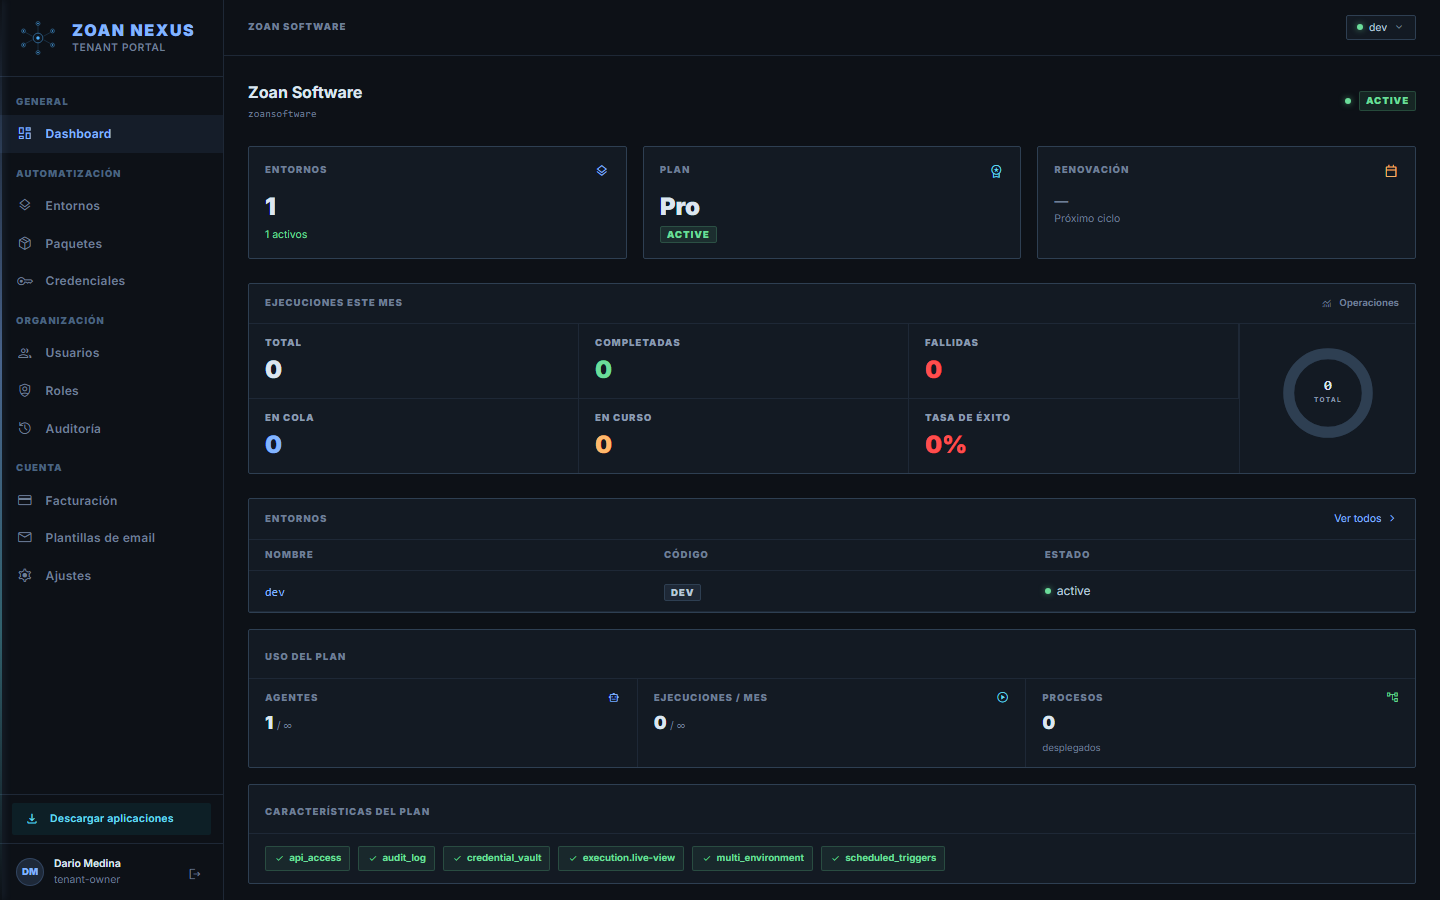
-
Run as administrator
Double click on
ZoanPlatformSetup.exe. Windows asks if you want to allow changes — click Yes. -
Automatic dependency checking
Before showing the wizard, the installer checks two things:
- .NET 8 Desktop Runtime (required for Windows apps to work).
- Microsoft Edge WebView2 Runtime (embedded browser engine that uses the UI).
If something is missing, the installer asks you if you want to download it. Accept — the installation is transparent.
-
Installation wizard (5 steps)
Welcome screen with a link to the Terms of Service and Privacy Policy. Click on Get started.

Lista de componentes a instalar. Por defecto vienen todos seleccionados:
- Zoan Designer — Visual IDE for designing playbooks.
- Zoan Agent — runtime that runs the bots.
- Zoan Runner — execution engine (required for Designer and Agent to run playbooks).
- Session Capture — utility for recording screen during unattended runs.
If this machine is only going to run bots (not design), you can uncheck Designer. If you only use it for designing (not running Zoan Cloud bots), you can uncheck Agent.

Click Next.
Dos decisiones:
-
Scope:
All users— installs for all Windows users. Requires admin. Recommended for servers where the Agent must start as a service.Current user only— just your Windows account. It does not require admin, but the Agent does not automatically boot to boot — only when you log in.
-
Destination folder — where the files are installed. Default:
- All users:
C:\Program Files\Zoan\ - Current user:
C:\Users\TuUsuario\AppData\Local\Programs\Zoan\
- All users:

Click Next.
Progress bar with details of what you are copying. If you chose
All users, in this step also:- Create the Windows service
ZoanAgentService. - You configure it to automatically boot with the system.
- Lo inicia inmediatamente.
If you chose
Current user only, configure automatic start of Agent UI via the Windows registry (HKCU\...\Run).
Confirmation of successful installation with a green check. Click on Finish.
The installer creates:
- Accesos directos en Inicio → Zoan Designer y Inicio → Zoan Agent.
- Desktop shortcuts (optional).
- An entry in Add or Remove Programs called “Zoan Platform” for future uninstallation.

6. Connect the Agent to Zoan Cloud
Section titled “6. Connect the Agent to Zoan Cloud”Here you use the Machine Key that you copied in step 4.
-
Open Zoan Agent from the Start menu or desktop icon.
-
“Connect this device” screen
The first time you open the Agent, you are greeted with this screen. There are two fields:
- Zoan Cloud URL — the URL of your portal (e.g.
https://acme.cloud.zoansoftware.com). - Machine Key — the key you copied from the portal.

- Zoan Cloud URL — the URL of your portal (e.g.
-
Paste the values and click on “Connect with Zoan Cloud”
The Agent validates the URL, contacts Zoan Cloud, registers the connection, and saves the configuration. If everything goes well, in 2-3 seconds it switches to the main screen.

-
Verify that it appears as
onlinein the portalReturn to the tenant portal, enter the environment → Agents tab. The agent you created earlier should now have an online (green) status instead of offline.

7. Design your first playbook
Section titled “7. Design your first playbook”Now comes the fun part: putting together an automation.
For this tutorial we are going to make something simple: a playbook that opens Wikipedia, searches for “Robotic process automation” and saves the first paragraph in a variable.
-
Open Zoan Designer from the Start menu.

-
Create a new project
Click on New project. The Designer asks you:
- Nombre del proyecto:
Tutorial Wikipedia - Location: By default it suggests
Documentos\Zoan\Proyectos\— leave it that way or change it.

- Nombre del proyecto:
-
Get to know the Designer interface
When you open the project you will see 4 areas:
- Palette (left) — all available activities, grouped by package.
- Canvas (center) — where you drag the activities to build the flow.
- Properties panel (right) — parameters of the selected activity.
- Panel de variables (abajo) — variables del playbook.

-
Arrastra tu primera actividad
In the palette, type
browserin the search engine. The activities from the Browser package appear. Drag Open Browser to the canvas.
-
Configure Open Browser
Click on the
browser-opennode that you just placed. The properties panel on the right opens with the parameters:- Browser: deja
chrome. - URL:
https://es.wikipedia.org/wiki/Automatización_robótica_de_procesos - Headless:
false(we want to see the browser for this tutorial). - Output: type
page— this saves the browser session to a variable calledpage.

- Browser: deja
-
Add an activity to wait for the content
In the palette, look for
page-wait-for. Drag Page Wait For below the Open Browser.Configure:
- Page:
= page(references the variable you created in the previous step with an expression). - Selector:
#mw-content-text p(a CSS selector to the first paragraph). - Timeout:
10000(10 segundos).

- Page:
-
Extract the text from the first paragraph
Arrastra Page Get Text debajo.
Configure:
- Page:
= page - Selector:
#mw-content-text p - Output:
firstParagraph
- Page:
-
Record the result in a log
Arrastra Log (del paquete Core).
Configure:
- Level:
info - Message:
= "Primer párrafo: " + firstParagraph
- Level:
-
Close the browser at the end
Drag Browser Close and set Browser:
= page. -
Your playbook should look like this

8. Run locally to validate
Section titled “8. Run locally to validate”Before publishing the playbook to Zoan Cloud, it is a good idea to test it on your own machine. The Designer can execute against your local Agent.
-
Verify that the Agent is online (check the icon in the system tray — it should have a green circle).
-
Click on “Run” in the Designer toolbar (button with play icon).
-
Look at the logs panel (bottom). You will see messages in real time:
[INFO] Iniciando ejecución[INFO] browser-open: chrome → es.wikipedia.org[INFO] page-wait-for: selector encontrado[INFO] page-get-text: 487 caracteres extraídos[INFO] Primer párrafo: La automatización robótica de procesos...[INFO] browser-close[OK] Ejecución completada — 4.2s
-
If something fails, the log panel shows the error. The most frequent causes for this playbook would be:
- Wikipedia changed its layout and the
#mw-content-text pselector no longer exists — update it. - You don’t have Chrome installed — install Chrome or change to
edgein the Browser parameter. - Agent is not running — open it from the Start menu.
- Wikipedia changed its layout and the
9. Publish the playbook to Zoan Cloud
Section titled “9. Publish the playbook to Zoan Cloud”Once it’s running locally, you publish it to the portal so it can run unattended.
-
In the Designer, click “Publish” in the toolbar.
-
Fill in the version information
The Designer asks you:
- Version (semantics):
1.0.0for the first publication. - Release Notes: Optional, but useful for history.

- Version (semantics):
-
Confirm. The Designer packages the project into a
.zoanfile, uploads it to the Zoan Cloud portal and associates it with your tenant. -
In the portal, go to Packages (side menu). You will see your
Tutorial Wikipediav1.0.0 package listed.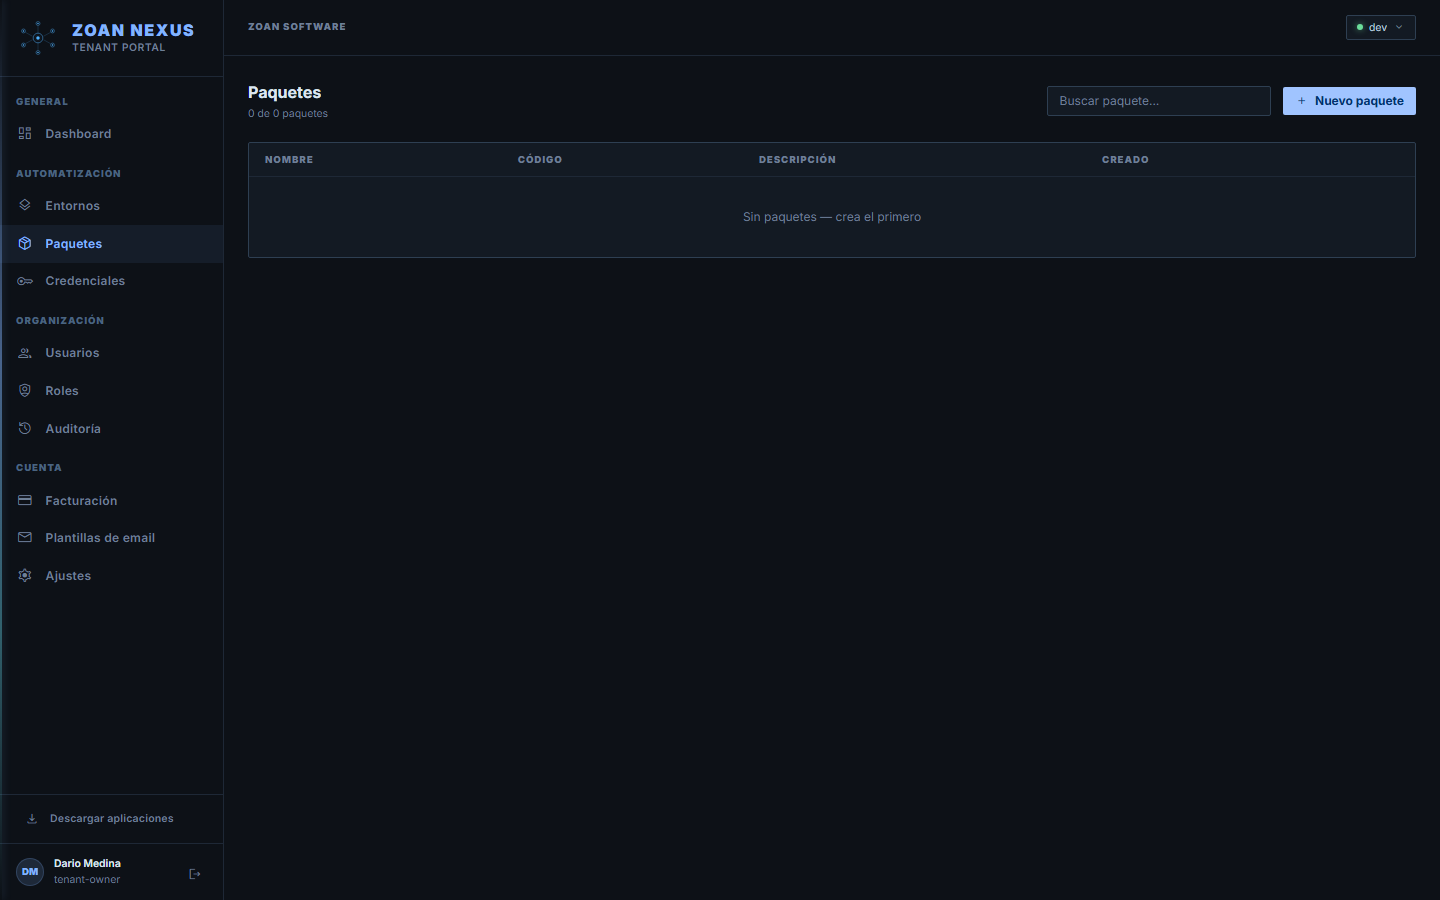
10. Create a process and run from the portal
Section titled “10. Create a process and run from the portal”A process associates a package (at a specific version) with an environment. It is what the agent executes when he receives an order.
-
Return to the environment → Processes tab.
-
Click on “New process”.
-
Select package and version:
- Package:
Tutorial Wikipedia - Version:
1.0.0 - Process name:
Tutorial Wikipedia(autocomplete, you can change it).

- Package:
-
Guardar.
-
Go to the Runs tab of the environment and click New Run.
-
Select:
- Process:
Tutorial Wikipedia - Agent: the one you created (Zoan Cloud selects one online automatically).
- Process:
-
Confirm. The execution goes to state
queuedand, in seconds, torunning. -
See the logs in real time from the same screen.

-
When finished it remains at
completed(green) orfailed(red). Click on the execution to see the details: complete logs, duration, exit code.
Congratulations! 🎉
Section titled “Congratulations! 🎉”Your first bot is running in production. From here you can:
- Try other catalog activities — Excel, Outlook, OCR, databases, SFTP.
- Program the bot with a trigger to run automatically every day/week.
- Use credentials to allow your bots to access systems that require login without exposing passwords in the code.
- Learn about key concepts in more detail.
Did something go wrong?
Section titled “Did something go wrong?”| Problema | Where to look |
|---|---|
| The installer fails | Agent Troubleshooting |
| Agent does not connect | Agent States |
| Designer does not open | Re-run the installer with the “Repair” option |
| The playbook fails in production | Execution logs |
| Otra cosa | Concepts or write to soporte@zoansoftware.com |